SSH tunneling to directly access development nodes
In some cases, you want to access dev nodes directly from your local machine instead of manually connecting to the gateway first. There are two ways to accomplish this.
Using ProxyJump
We can use a configuration file to set custom names for SSH hosts and simplify the process of connecting. On your local machine,
open the ~/.ssh directory with the command cd ~/.ssh and create a file called config by running touch config (or edit it, if it already exists).
For Windows users using OpenSSH for Windows
For most Windows users using OpenSSH for Windows (e.g., to connect to the HPCC through VS Code), the SSH config file should be located at C:\Users\<username>\.ssh\config where <username> is your username on your Windows computer (or more generally, %userprofile%\.ssh\config). Note that the config file does not have a file extension and should not be considered a text (or any other) type of file by Windows.
You can open your config file in VS Code by pressing the F1 key, then typing Open SSH Configuration file.
In the following example .ssh/config file, we have defined hosts for all seven development nodes. Each entries each contain the line ProxyJump <netid>@hpcc.msu.edu to be able to connect to the development nodes through the gateway nodes.
To use the following template .ssh/config, change all instances of <netid> to your NetID that you use to login to the HPCC.
1 2 3 4 5 6 7 8 9 10 11 12 13 14 15 16 17 18 19 20 21 22 23 24 | |
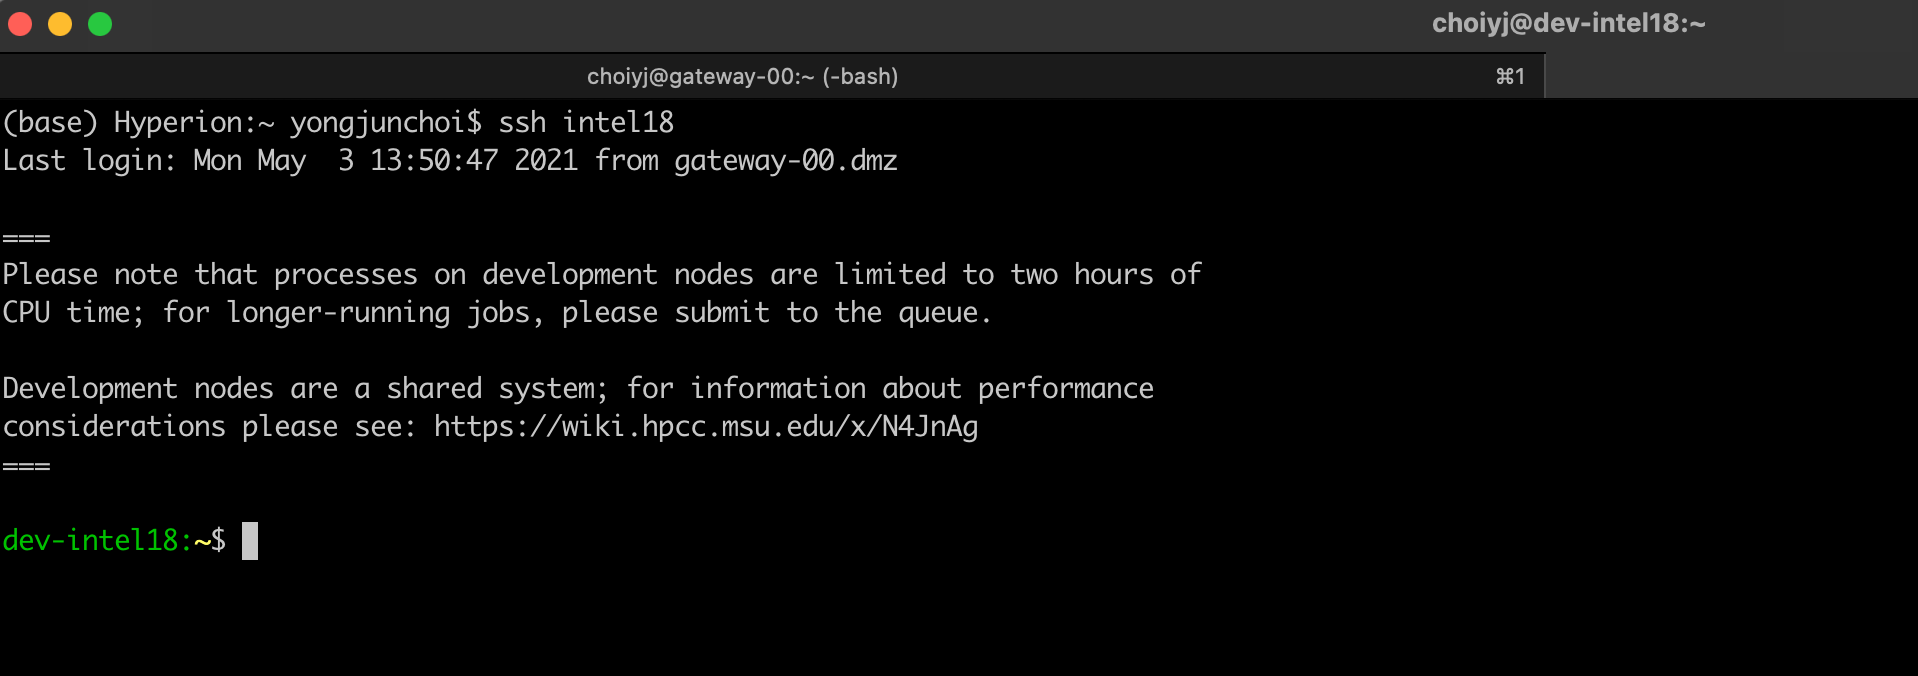
With this file, you can connect to any a development node from your local machine with, e.g., ssh intel18 or ssh k80. Your connection will automatically be routed through the HPCC gateway.
Note
With SSH Key-Based Authentication you don't have to type your password when you login.
Using port forwarding
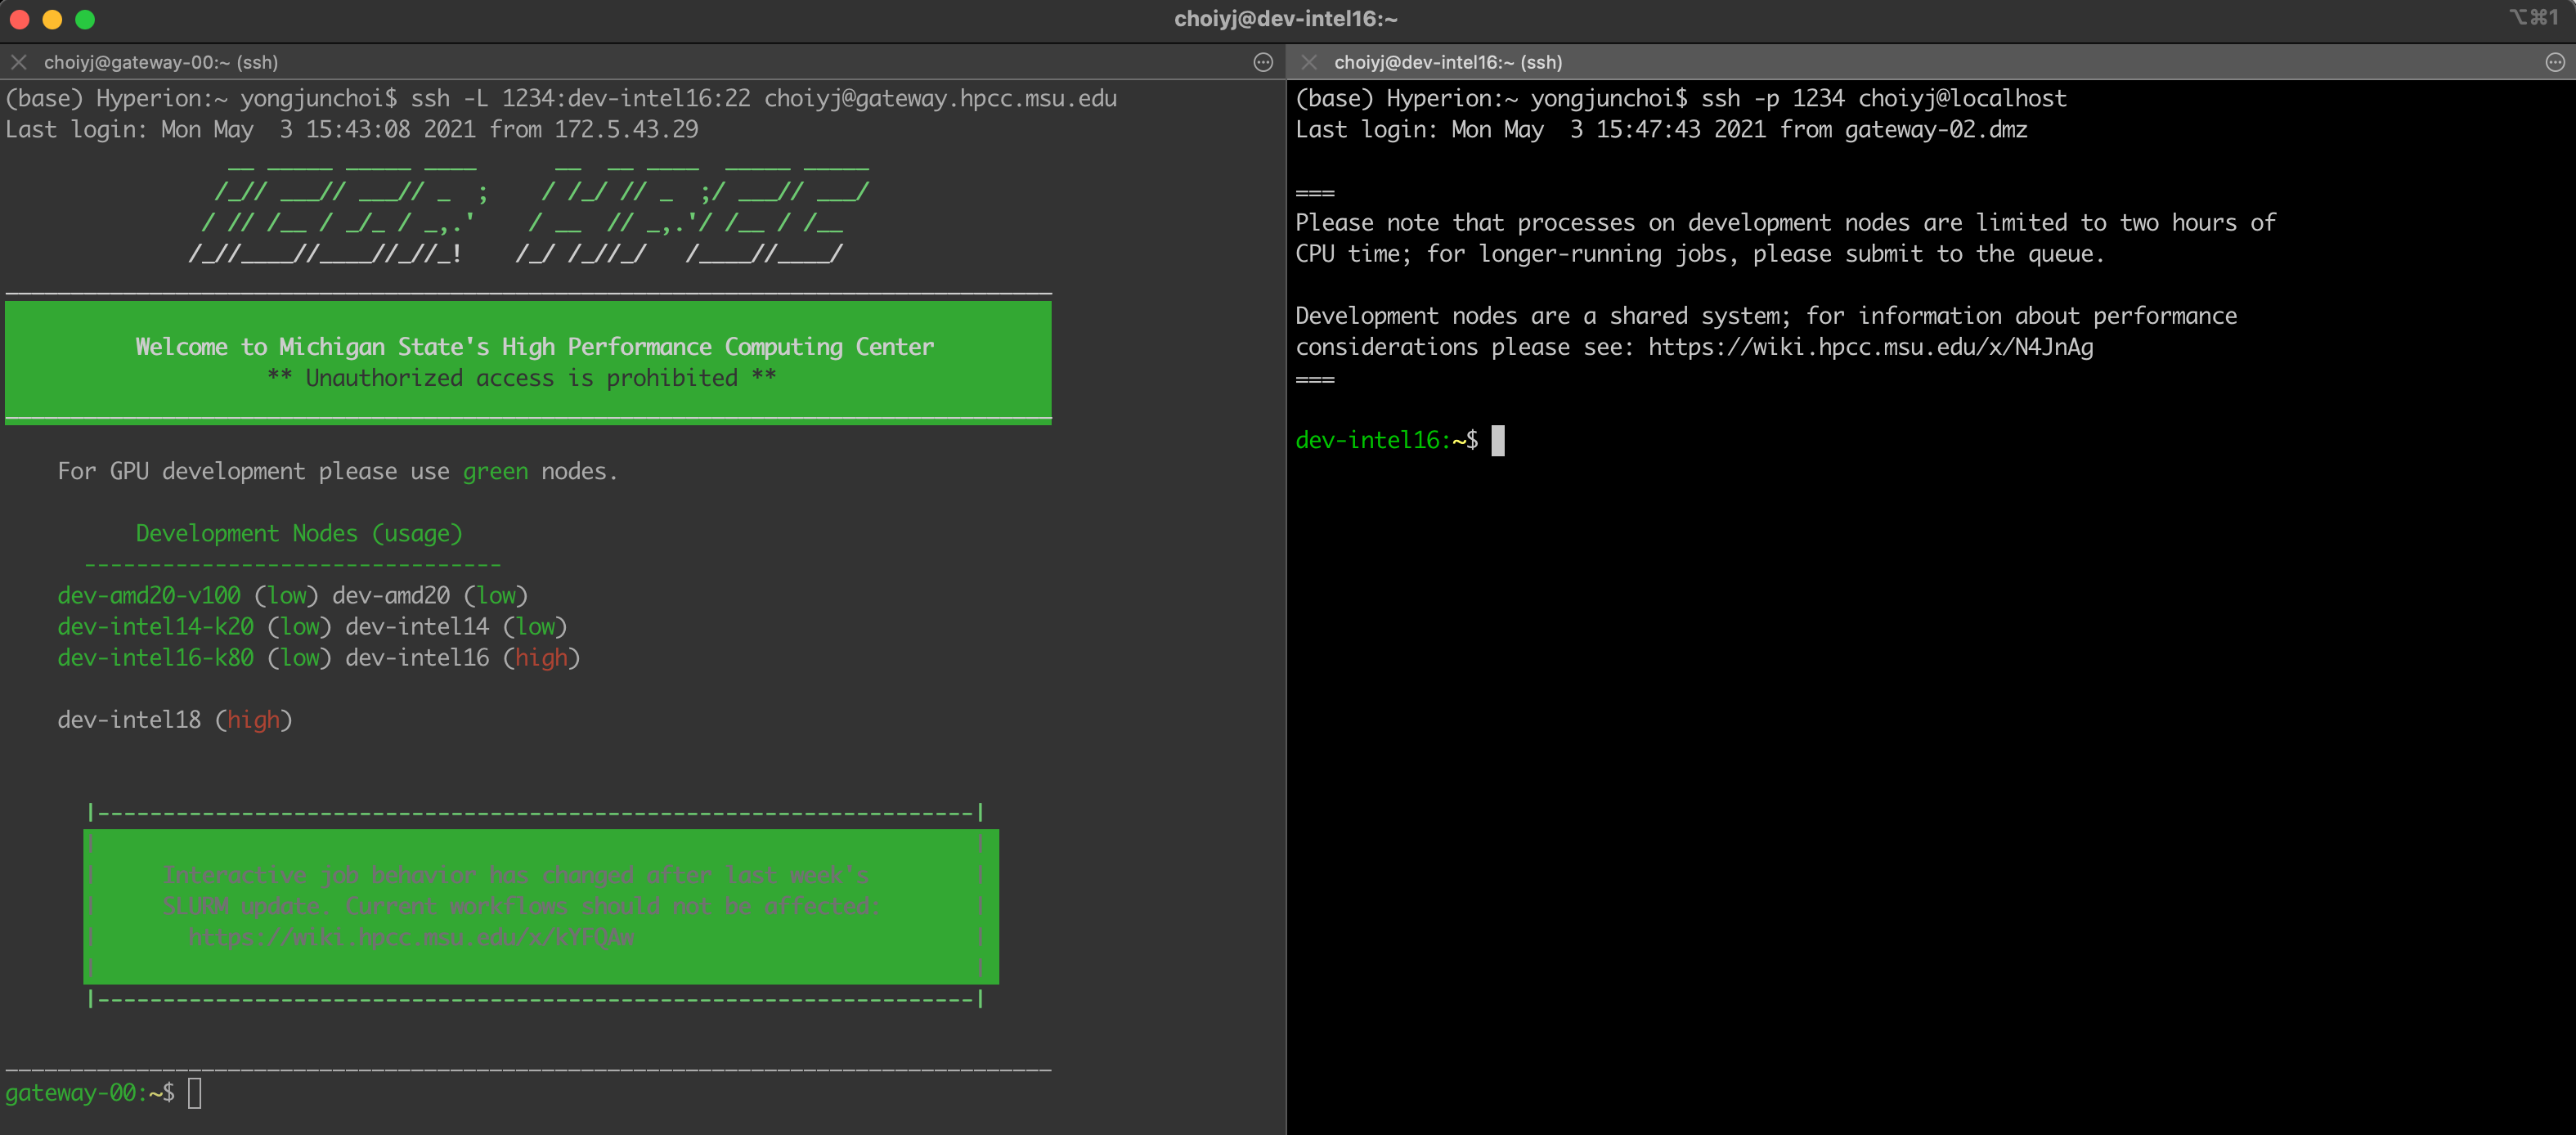
Instead of using ProxyJump, you can use port forwarding. For this method, you need to open two terminals on your local machine.
1st terminal (left in the picture): type
1 | |
You can change 1234 to any number larger than 1024 (1234 here is a port number you are using). You can change dev-intel18 to any dev-node name, but 22 (port number of dev node) should be remained. For example,
1 | |
is also working.
2nd terminal (right in the picture): type
1 | |
If it is the first time, it would request connection confirmation. type yes. Then you will arrive at the dev-node on the 2nd terminal.