Mapping HPC drives with Samba
Warning
-
Samba now uses campus AD for user authentication, if you are unable to login and have not updated your NetID password recently please try updating your NetID password before opening a ticket
-
This will only work if your computer has a university IP address. If you are off campus, you can use the MSU VPN to obtain an MSU IP, which is available to all graduate students, staff and faculty.
-
If file transfer speed is a concern please use our Globus endpoint.
The following tutorial will show you how to map your HPC home or research directory using SMB or CIFS File Sharing.
Determining your Network Path
Use the powertools command show-samba-paths to show all paths of your
home and research space. Run these commands in your SSH client after logging
on to a development node on the HPCC:
module load powertools  # if powertools is not loaded
show-samba-paths
  HOME      |        Samba Path
===================================================================
  username  |  \\ffs.hpcc.msu.edu\home\username      (Windows)
            |  smb://ffs.hpcc.msu.edu/home/username      (Mac)


  RESEARCH        |        Samba Path
===============================================================================
  helpdesk        |  \\ufs.hpcc.msu.edu\rs-011\helpdesk              (Windows)
                  |  smb://ufs.hpcc.msu.edu/rs-011/helpdesk              (Mac)
------------------+------------------------------------------------------------
  common-data     |  \\ufs-12-b.hpcc.msu.edu\common-data             (Windows)
                  |  smb://ufs-12-b.hpcc.msu.edu/common-data             (Mac)
------------------+------------------------------------------------------------
  BiCEP           |  \\ufs.hpcc.msu.edu\rs-001\BiCEP                 (Windows)
                  |  smb://ufs.hpcc.msu.edu/rs-001/BiCEP                 (Mac)
------------------+------------------------------------------------------------
  education-data  |  \\ufs-12-b.hpcc.msu.edu\education-data          (Windows)
                  |  smb://ufs-12-b.hpcc.msu.edu/education-data          (Mac)
where the paths are the same for Mac and Window computers but with different formats.
Mapping the Drive
Choose the tab with your operating system below for steps to set up the Samba drive.
Step 1. Enable NetBIOS over TCP/IP on Windows:
-
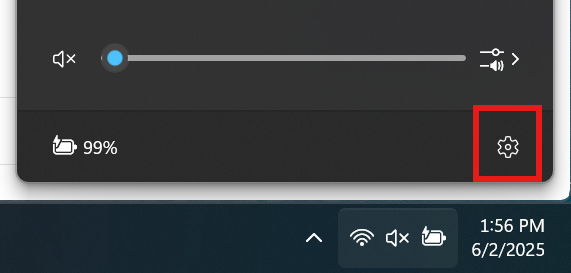
Click on the Network icon on the taskbar at the right hand side and click on the gear to open Settings:
-
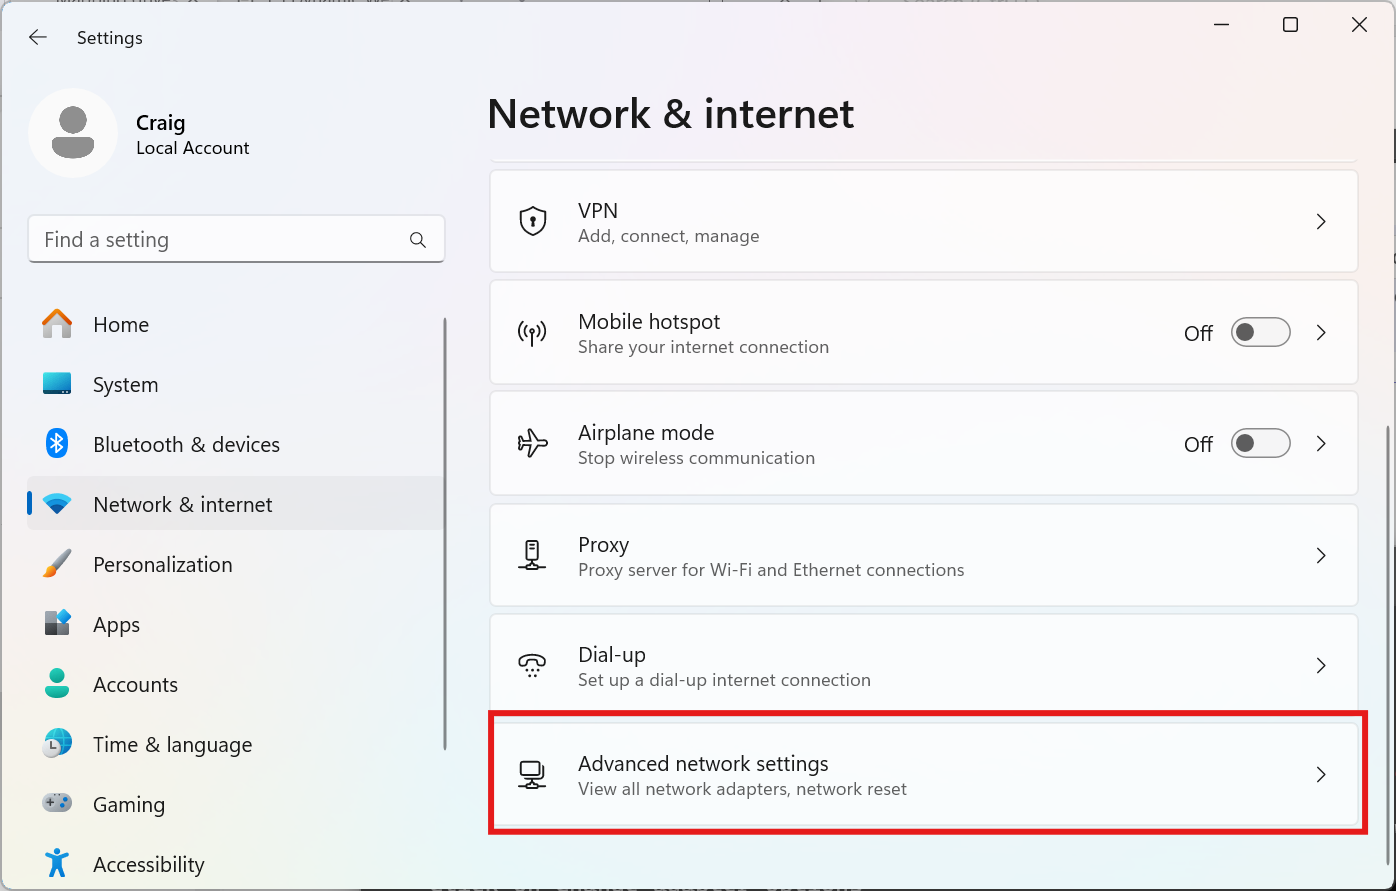
In the "Network & Internet" section, scroll down and choose "Advanced Network Settings":
-
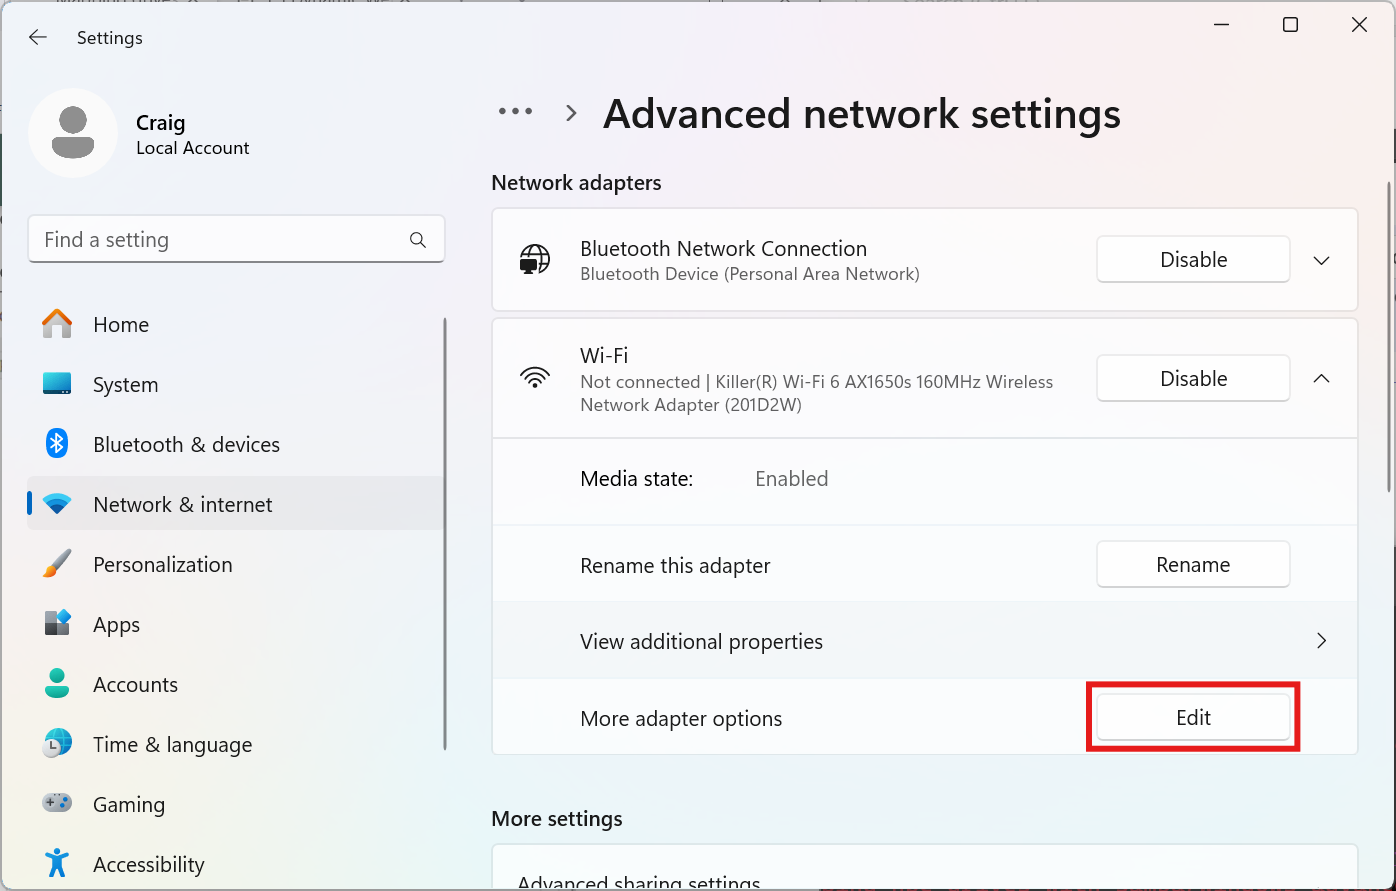
Select the network adapter you are accessing the internet with, and click the "Edit" button under "More adapter options":
-
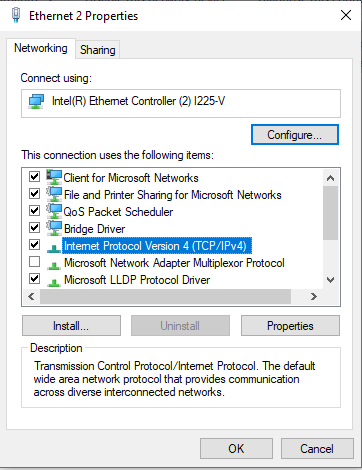
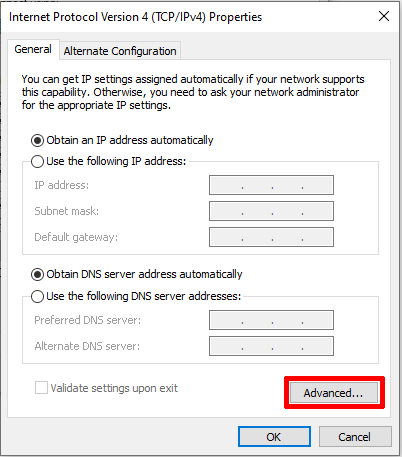
Double click the Internet Protocol version 4 (TCP/IPv4) entry:
-
Click the Advanced button under the General tab:
-
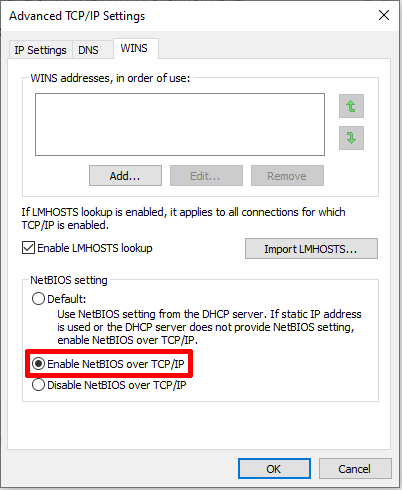
Click the WINS tab.
-
Click the Enable NetBIOS Over TCP/IP button:
-
Click Ok
Step 2. Disable SMB1
This step must be completed or your client will not be able to map the drive. If you have other mounts on the HPCC and they are using Samba V1, they will stop working.
-
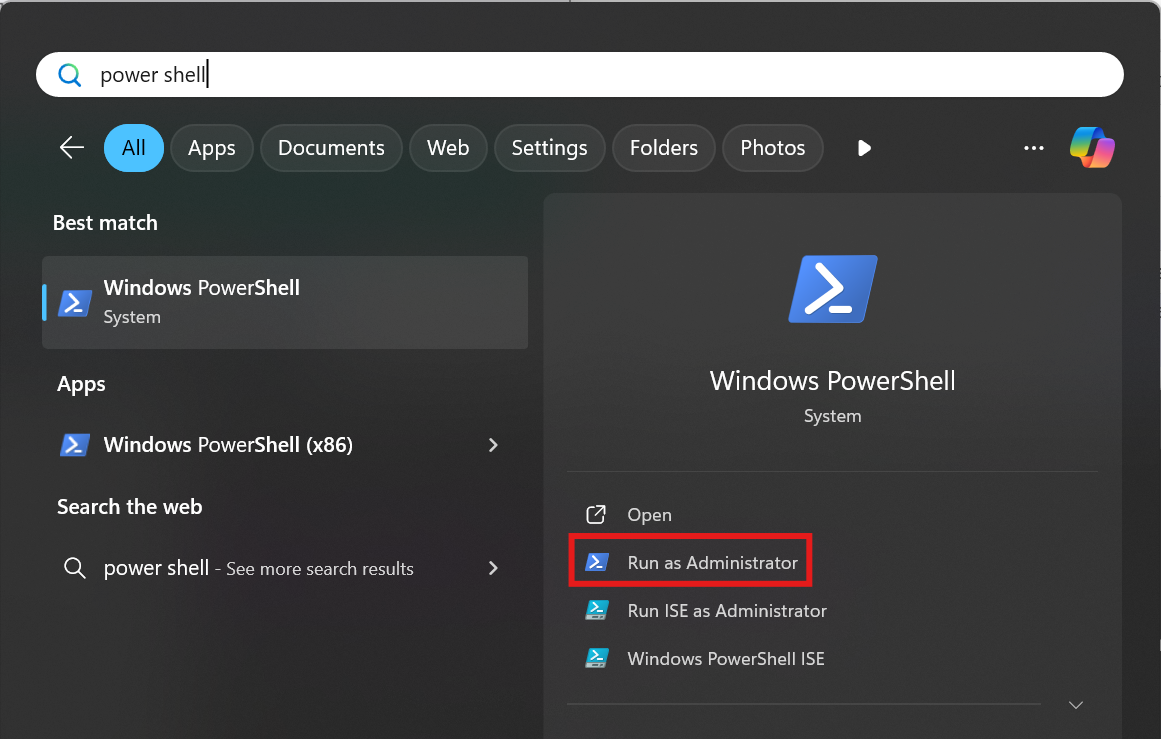
Press the Windows start button
-
In the search box type "power shell", and click the option to "Run as Administrator":
-
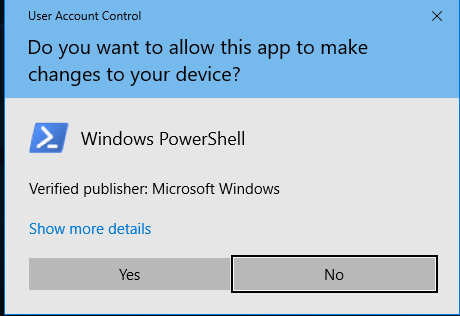
Select "Yes" when the security warning appears:
-
Disable Samba V1 by entering the following command into the Windows PowerShell and pressing Enter:
Set-ItemProperty -Path "HKLM:\SYSTEM\CurrentControlSet\Services\LanmanServer\Parameters" SMB1 -Type DWORD -Value 0 -Force -
Ensure SMB V2 and SMB V3 are enabled by entering the following command and pressing Enter:
Set-ItemProperty -Path "HKLM:\SYSTEM\CurrentControlSet\Services\LanmanServer\Parameters" SMB2 -Type DWORD -Value 1 -Force -
Close PowerShell.
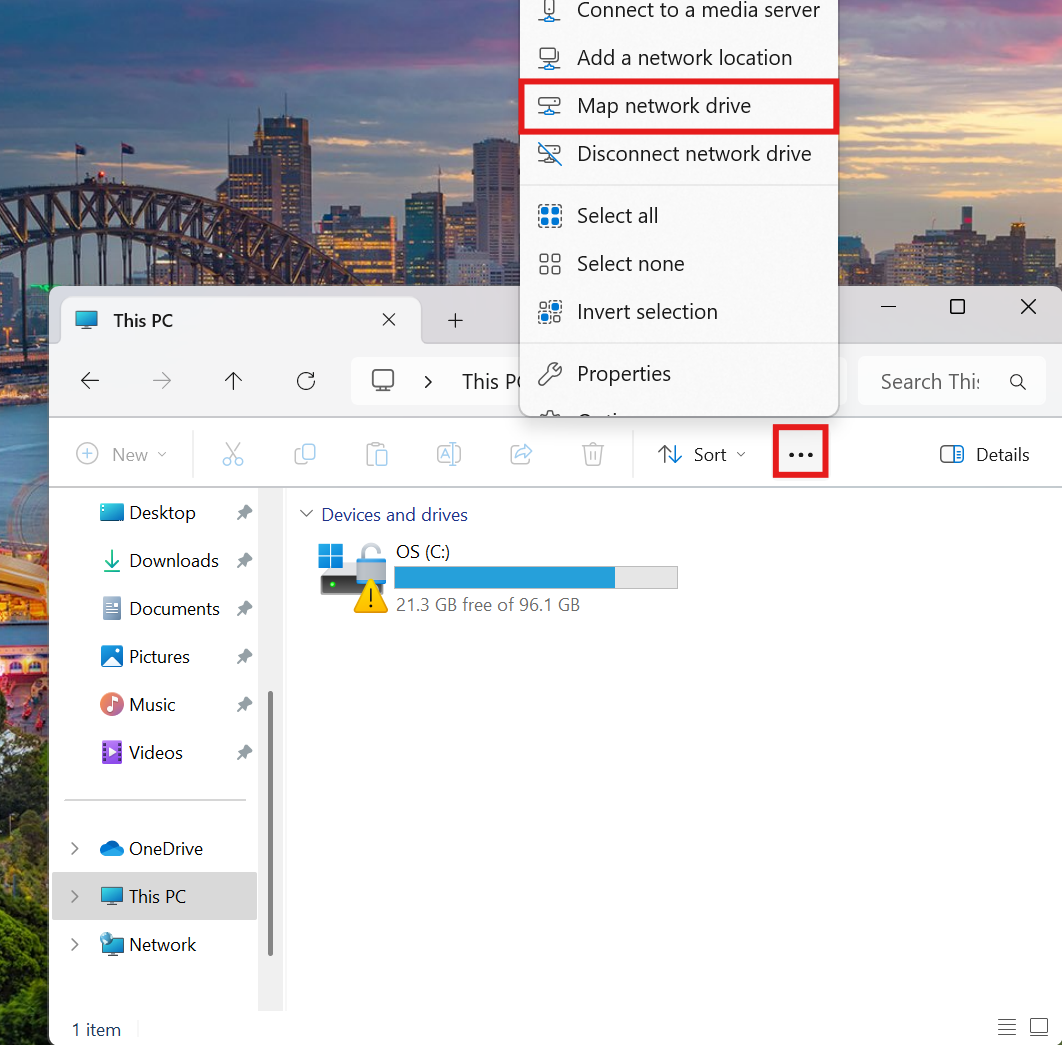
Step 3. Map the Network Drive
-
Open the File Explorer, navigate to "This PC" on the left hand side, click on the three dots, and select the "Map Network Drive" option:
-
Type your Network Path and select the box "Connect using different credentials."

-
Type in your MSU email (with
@msu.edu) and password and optionally select "Remember my credentials". Then click OK: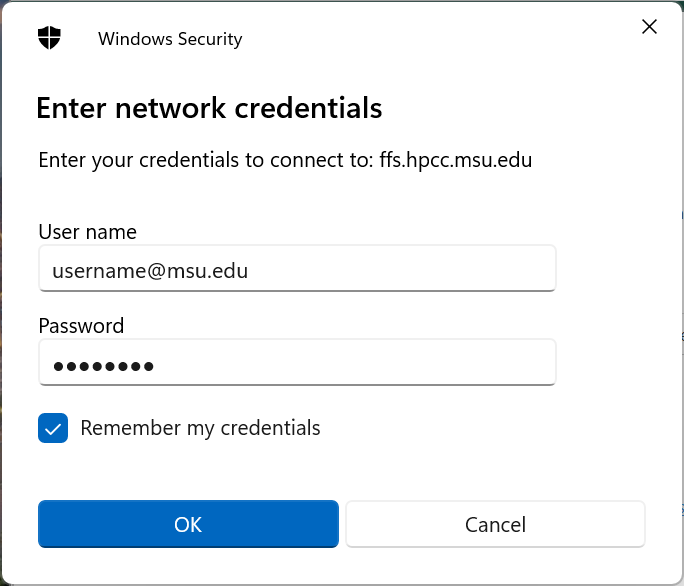
Warning
If you aren't able to sign in, You will need to add "CAMPUSAD\" to the beginning of your NetID and leave off "@msu.edu". An indicator of this issue is if Windows displays the error "The specified network password is not correct" in the username dialog window.
For example: substitute "CAMPUSAD\sparty" for username "sparty" in the username field. The slash character is a backslash. A forward slash character will not work.
-
Your home directory will open. To return to this network drive in the future, select the "This PC" section in the File Explorer and choose the corresponding Network location.
(Optional) Command-line Windows NetBIOS Commands
If you're working in Windows, you can use command line tools to manage your drive mapping. These commands also work in .bat files, if you're so inclined to connect/disconnect drives in that manner. Note you may also have to Disable SMBV1 and Enable SMB2 per instructions above.
From the Start Menu -> Run -> type 'cmd' in the box and hit enter, the command shell should open. You can then use the following commands to diagnose, disconnect and connect drives.
# to show all mapped connections/drives
# use 'net use'

C:\Documents and Settings\Administrator>net use
New connections will not be remembered.


Status       Local     Remote                    Network

-------------------------------------------------------------------------------
Unavailable  J:        \\MachineA\consult$    Microsoft Windows Network
Unavailable  P:        \\MachineB\everyone$    Microsoft Windows Network
             Z:        \\vmware-host\Shared Folders
                                                 VMware Shared Folders
The command completed successfully.

# to map a drive use:
# net use <drive_letter>: \\<hostname>\<mount> /user:<net_id>@msu.edu
# where <hostname> and <mount> were determined from above 'Determining Your Network Path' and <net_id> is your MSU Net ID

C:\Documents and Settings\Administrator>net use m: \\ffs.hpcc.msu.edu\home\username /user:username@msu.edu
The command completed successfully.

# You can use 'net use' again to show the drive mapping status.

C:\Documents and Settings\Administrator>net use
New connections will not be remembered.


Status       Local     Remote                    Network

-------------------------------------------------------------------------------
Unavailable  J:        \\MachineA\consult$    Microsoft Windows Network
OK           M:        \\ffs.hpcc.msu.edu\home\username
                                                 Microsoft Windows Network
Unavailable  P:        \\MachineB\everyone$    Microsoft Windows Network
             Z:        \\vmware-host\Shared Folders
                                                 VMware Shared Folders
The command completed successfully.

# To disconnect a drive use:
# net use <drive_letter>: /delete
## NOTE: this will only drop the connection, not delete the share or any data on the share ##

C:\Documents and Settings\Administrator>net use m: /delete
m: was deleted successfully.

# you can now use 'net use' again to show your mapping status after the delete to ensure it's gone.

C:\Documents and Settings\Administrator>net use
New connections will not be remembered.


Status       Local     Remote                    Network

-------------------------------------------------------------------------------
Unavailable  J:        \\MachineA\consult$    Microsoft Windows Network
Unavailable  P:        \\MachineB\everyone$    Microsoft Windows Network
             Z:        \\vmware-host\Shared Folders
                                                 VMware Shared Folders
The command completed successfully.


C:\Documents and Settings\Administrator>
-
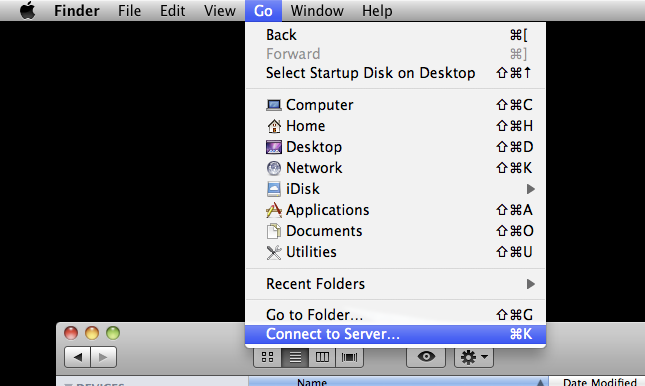
Open the Finder:

-
Under "GO" click on "Connect to Server":
-
Enter your Network Path:
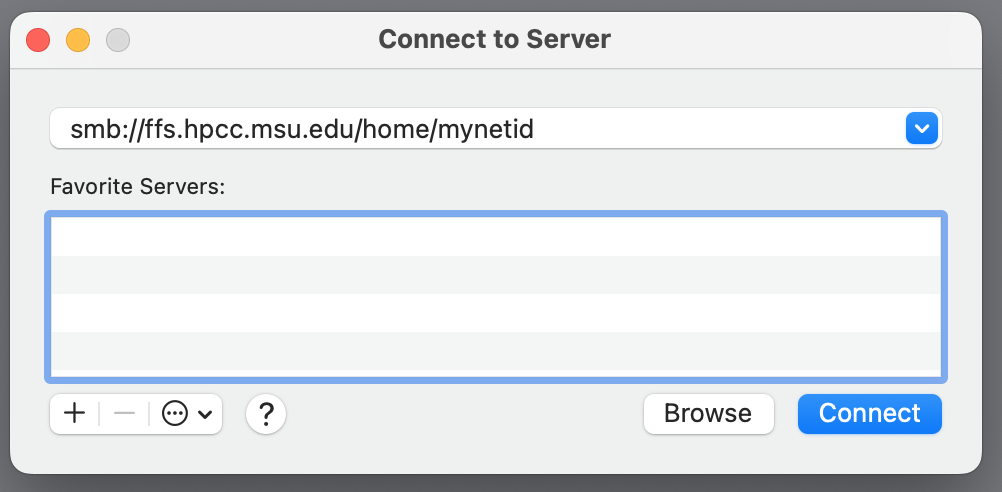
-
Enter your MSU email (with
@msu.edu) and password, optionally click "Remember this password in my keychain", and click "Connect":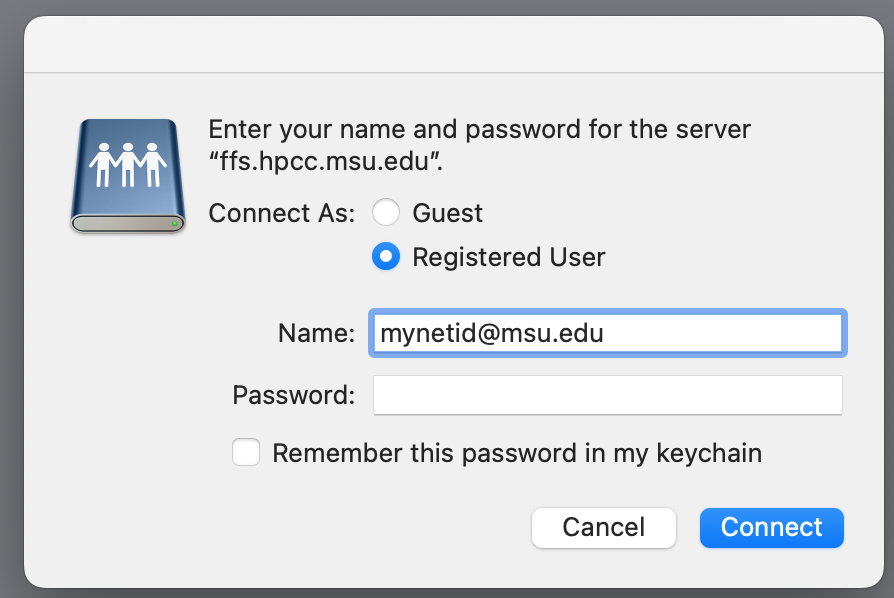
Step 1. Setup the Samba client
-
Install smb-client
Ubuntu / Debian
apt install smbclientRed Hat / Fedora
yum install samba-client -
Edit /etc/samba/smb.conf
sudo vi /etc/samba/smb.conf -
Add the following lines to disable samba V1
This step must be completed or your client will not be able to map the drive. If you have other mounts on on the HPCC and they are using Samba V1 they will stop working. In this case please use SSHFS.
client min protocol = SMB2
client max protocol = SMB3
Step 2. Mount the network drive (Ubuntu example)
-
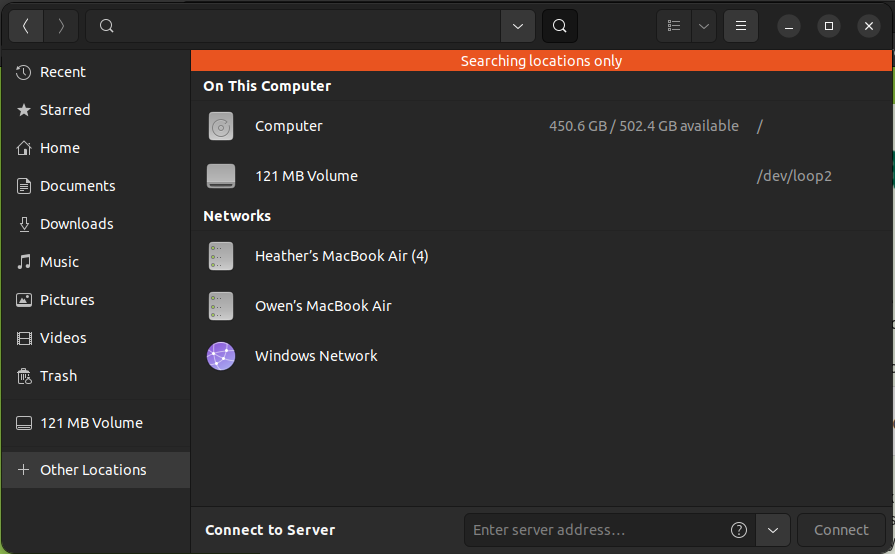
Open a File Browser window. In the left pane select "Other Locations":
-
Type your network path in the server address box. Remember to get your network path using
show-samba-pathson the HPCC (the format is the same as the Mac format):
-
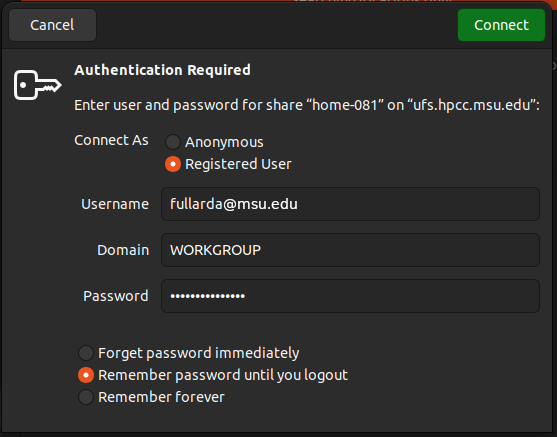
An authentication window will open. Select "Registered User". Enter your MSU email and password (Domain can remain WORKGROUP) and click connect:
Note
Your username must include @msu.edu.
-
If connected properly the drive should appear in the file manager screen:
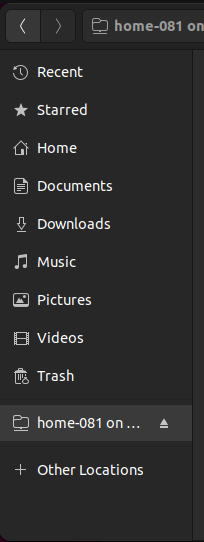
-
After successfully mounting, you can unmount using the eject button in the file manager, and reconnect later using the dropdown list next to the Connect to Server box.