Jupyter
Basic Configuration
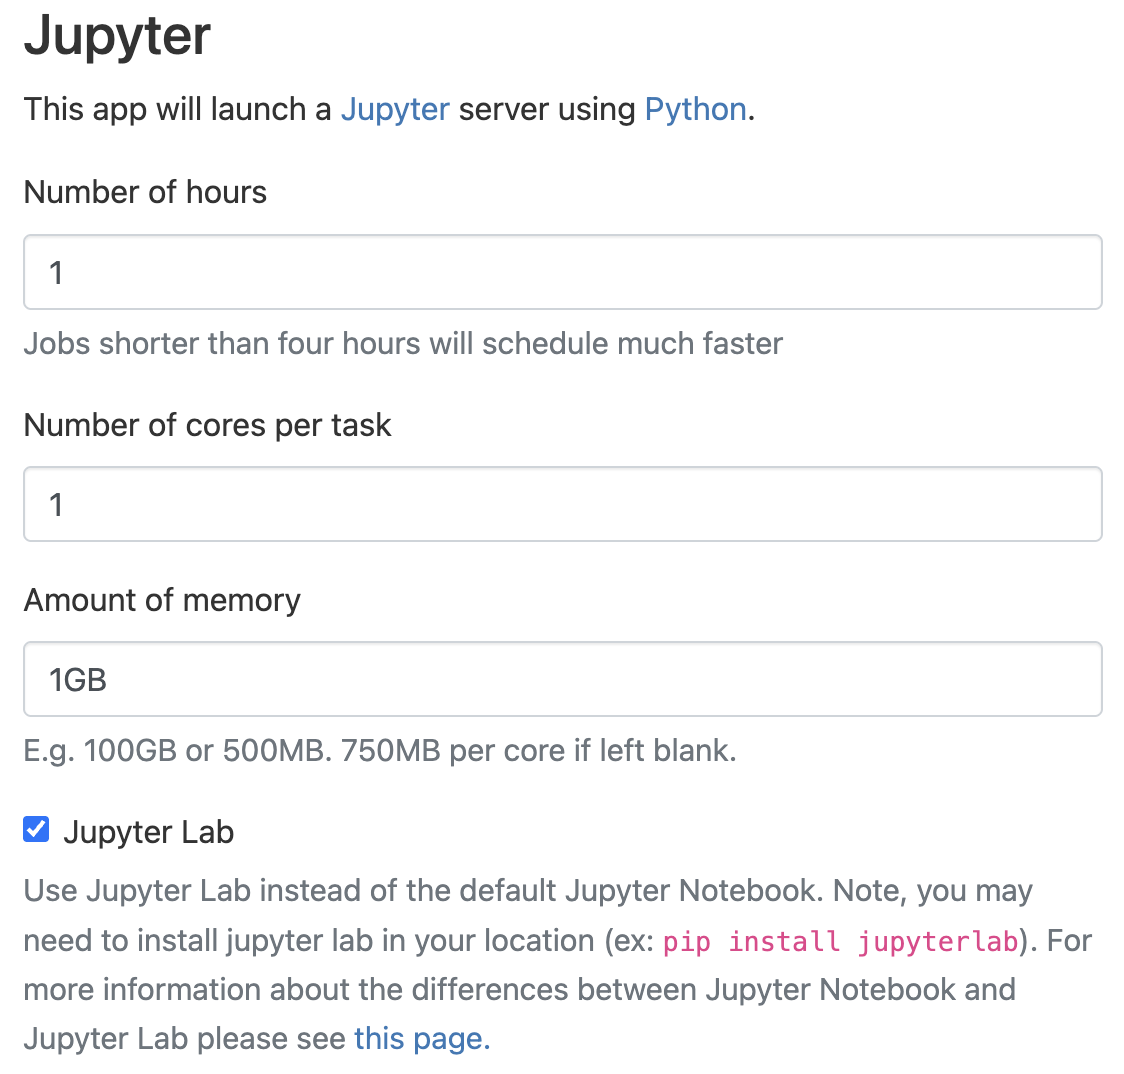
To begin an OnDemand Jupyter session, the basic configuration we recommend is less than 4 hours (unless you require more), at least a single core, and at least 1GB memory per core (default is 750MB). You may also configure the session to use Jupyter Lab (default) or Jupyter Notebook with the Jupyter Lab selection box.
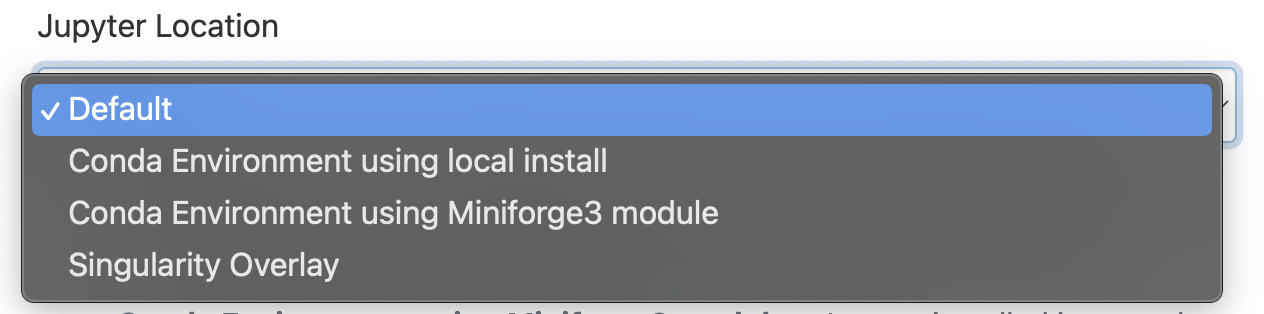
Jupyter Location
You can configure the Jupyter application to use various Jupyter instances.

We recommend using the Default or Conda Environment using Miniforge3 module options. The default option uses the HPC's system Jupyter instance, and requires no Jupyter installation. The Conda Environment using Miniforge3 module option uses a Jupyter instance installed in a Conda environment that was created using the Miniforge3 module. For this option, you can specify your environment under Conda Environment name or path with either the environment name or full environment path.
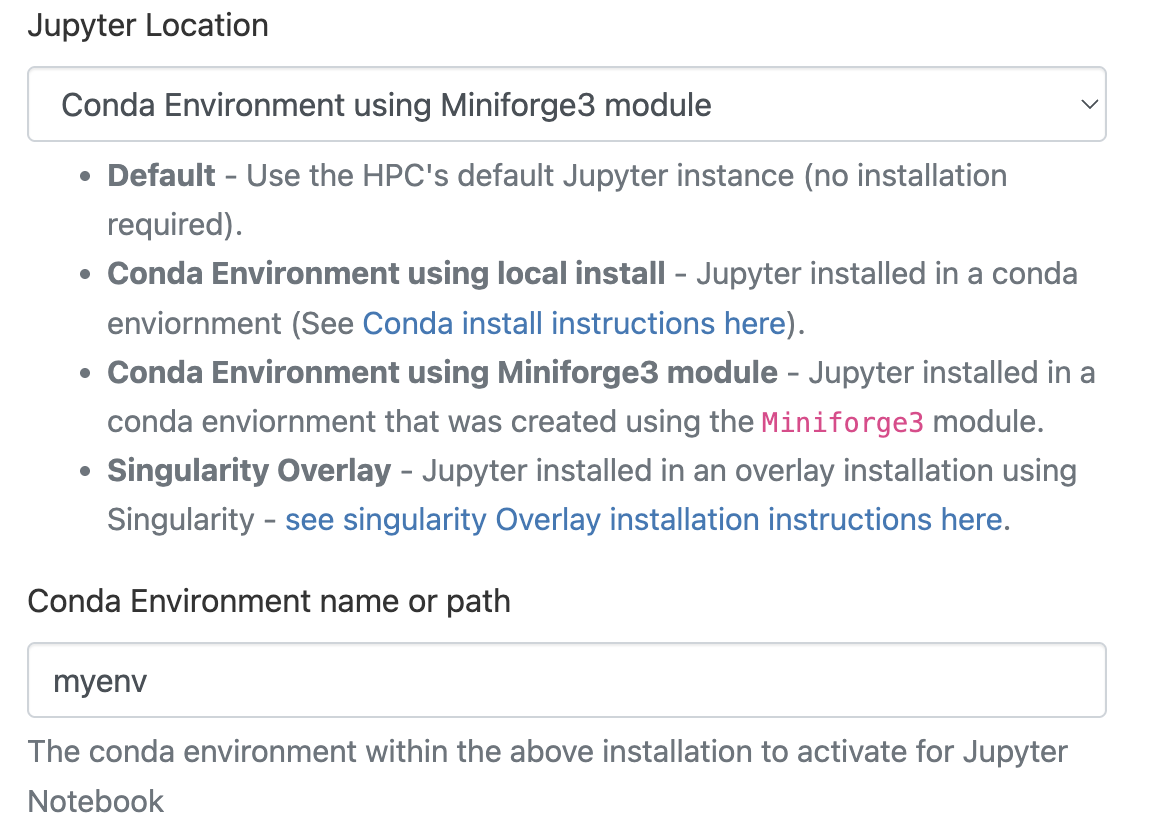
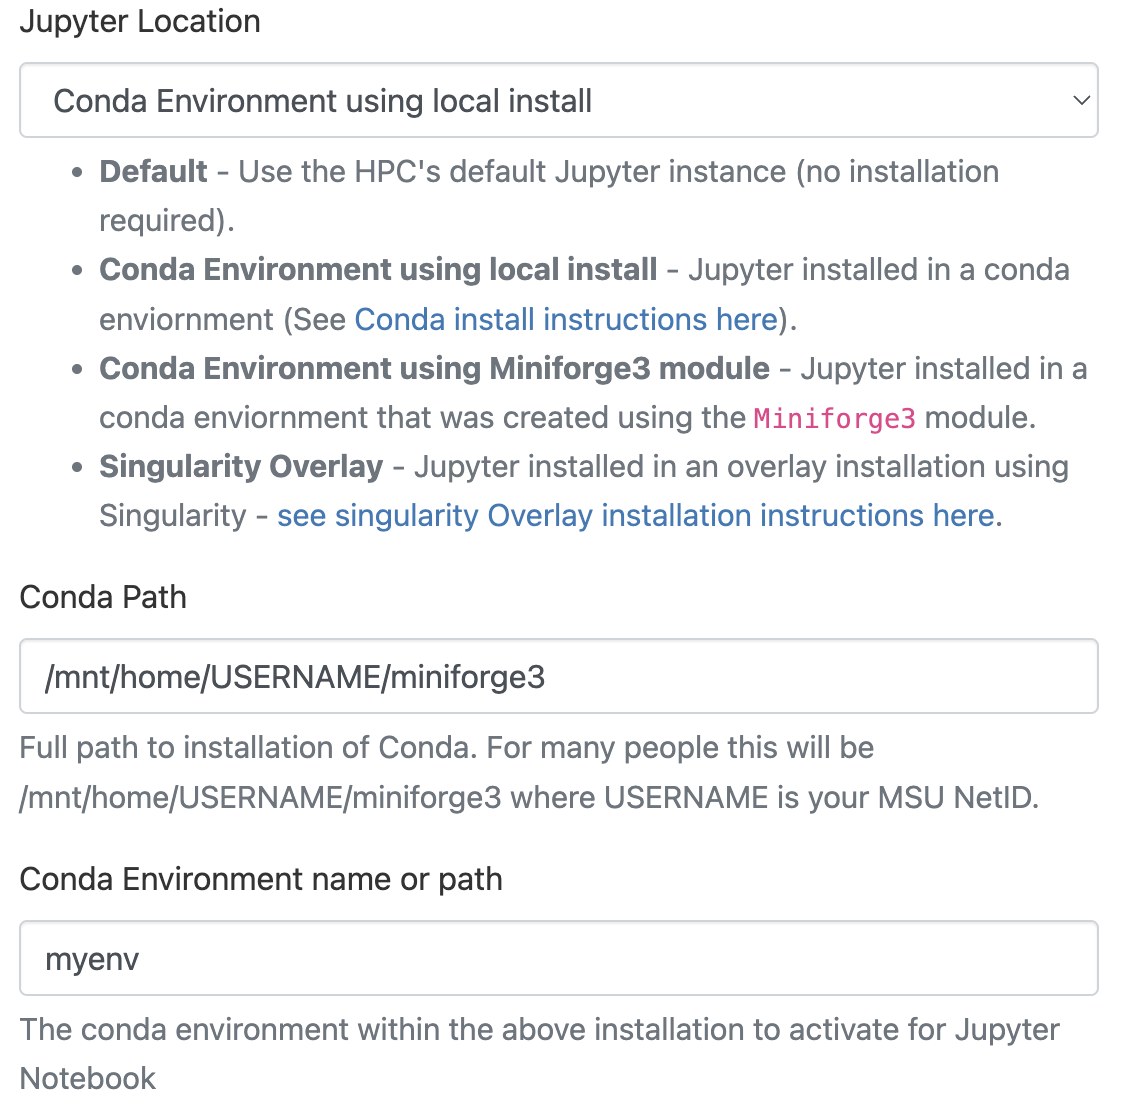
If you're working with a Jupyter instance installed in a Conda environment that was created using a local Conda installation, you can select the Conda Environment using local install option. For this option you will need to specify the full path to your local Conda installation. You can also specify your environment under the Conda Environment name or path with either the environment name or full environment path.
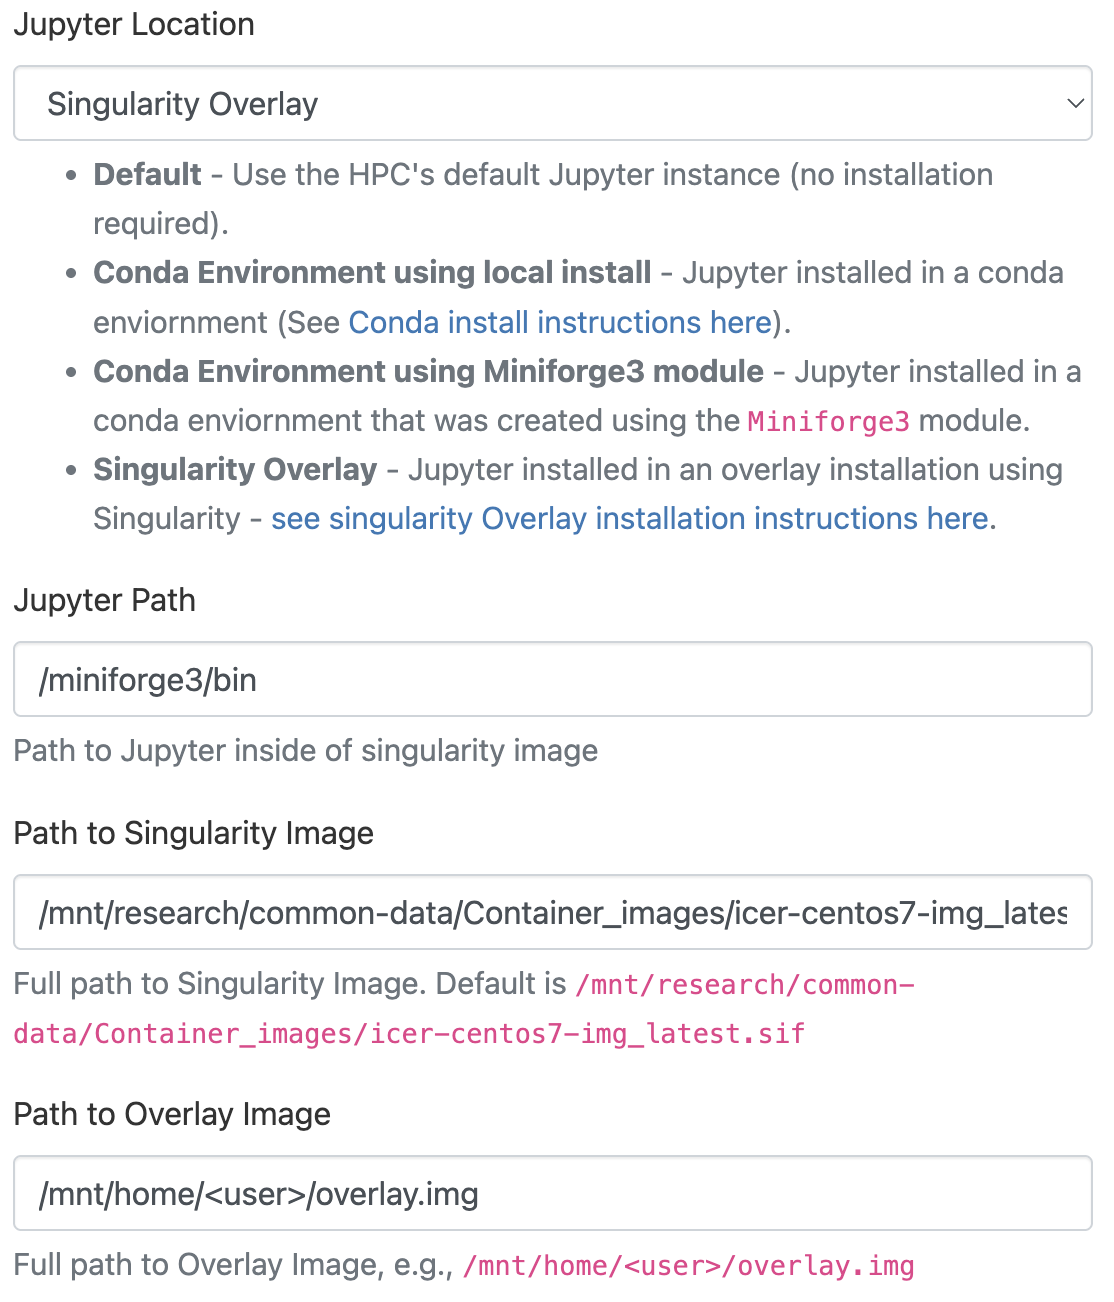
If you're working with Jupyter installed in an overlay installation using Singularity, you can select the Singularity Overlay option. With this option you can specify the Jupyter path inside the singularity image, path to the Singularity Image, and path to the Overlay image.
Working Directory
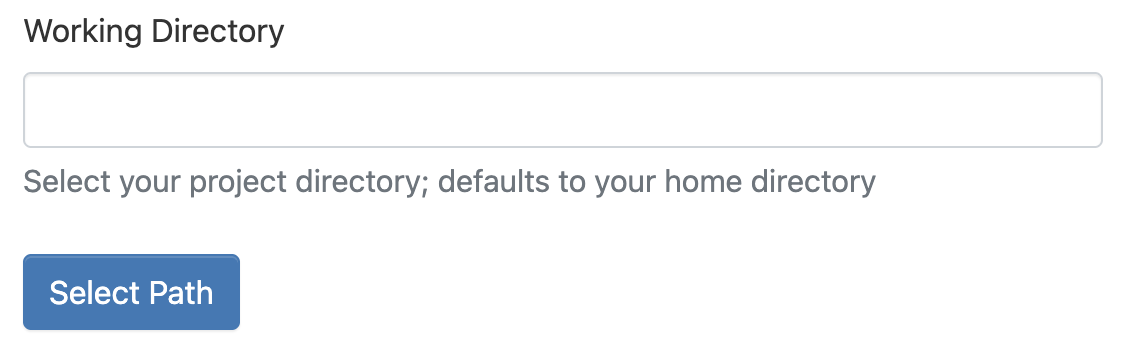
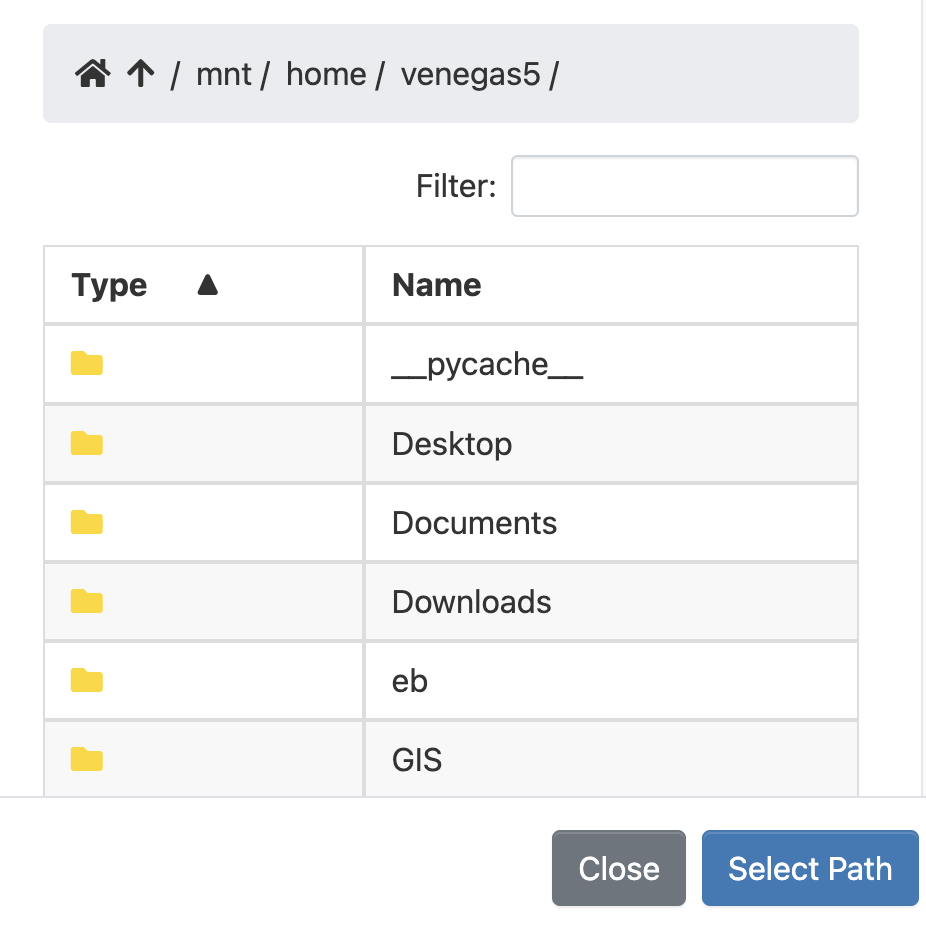
You may also specify a working directory for your Jupyter session, which can be any space on the HPCC that you have access to, such as home (default), scratch, or research space. You can specify the full path, or use the graphical path selector interface by clicking on the Select Path button.
Advanced Configuration Options
Beyond these basic configuration parameters, there are more session configurations you can make by selecting the Advanced Options box below the set of basic configuration options. Here, you can specify the node type for the session to run on, request GPUs and number of tasks. You can also specify a SLURM account or reservation.

Using Jupyter with a Python virtual environment
Note
To use Python virtual environments in Jupyter, they must be created using the version of Python that the Default option uses, which is currently Python/3.11.3-GCCcore-12.3.0.
To use a Jupyer instance with a Python virtual environment, you will need first create a Jupyter kernel for the virtual environment. To do this, you will need to login to a development node and run the following commands:
source <your-venv>/bin/activate
pip install jupyter
ipython kernel install --user --name=<your-venv>
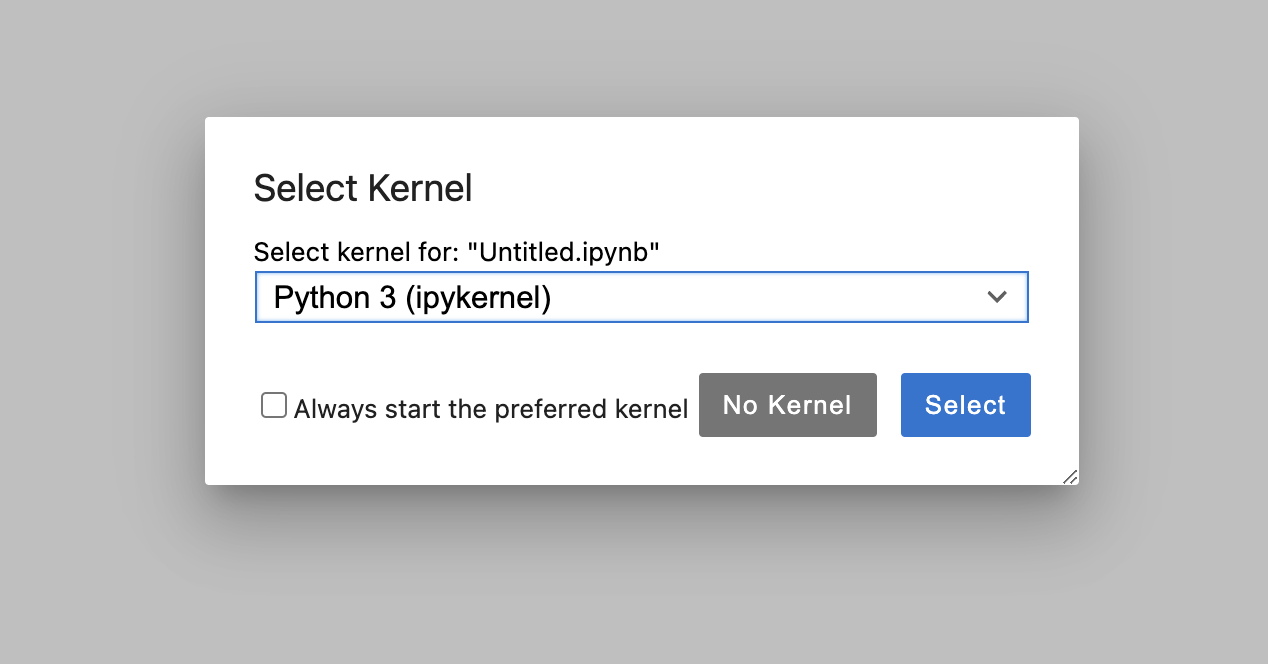
Next, in the Jupyter OnDemand configuration, choose Default as the Jupyter Location.
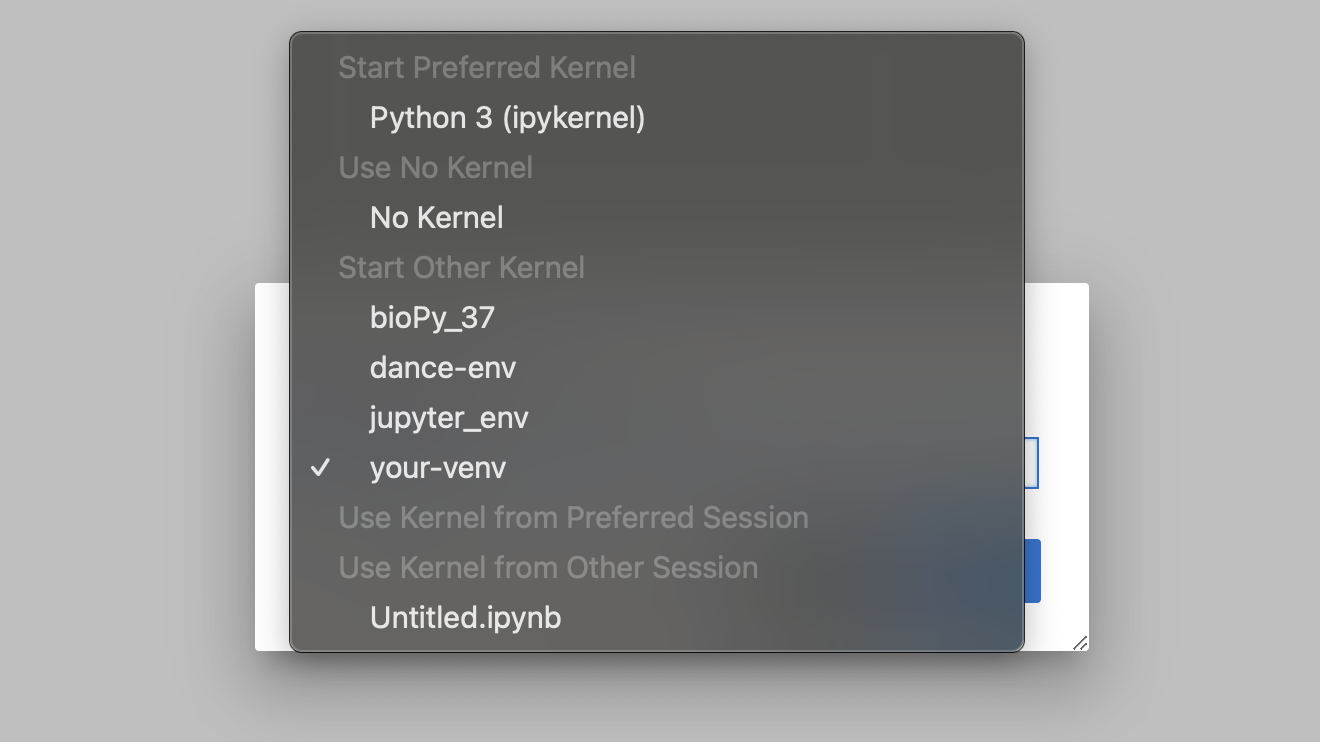
Once your Jupyter OnDemand sessions starts, you can then choose your new kernel that will be named your-venv.